Author Archives: admin
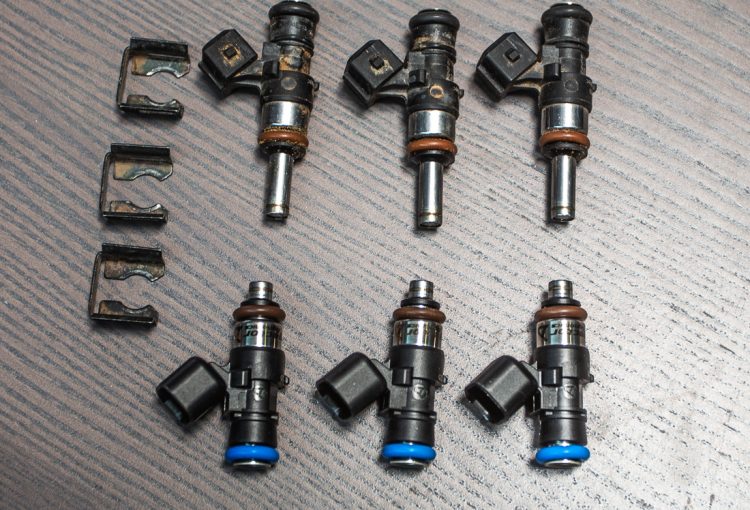
Can-Am X3 Big Injector Installation by Agency Power
This guide is to assist with the installation of the Agency Power Big Injector Upgrade for the Can-Am Maverick X3 Turbo. These are 1065cc at 3bar fuel pressure. Designed to be used with standard unleaded fuel. Tuning is required to maximize the performance of your Can-Am X3. Step 1: Remove the two… Read More
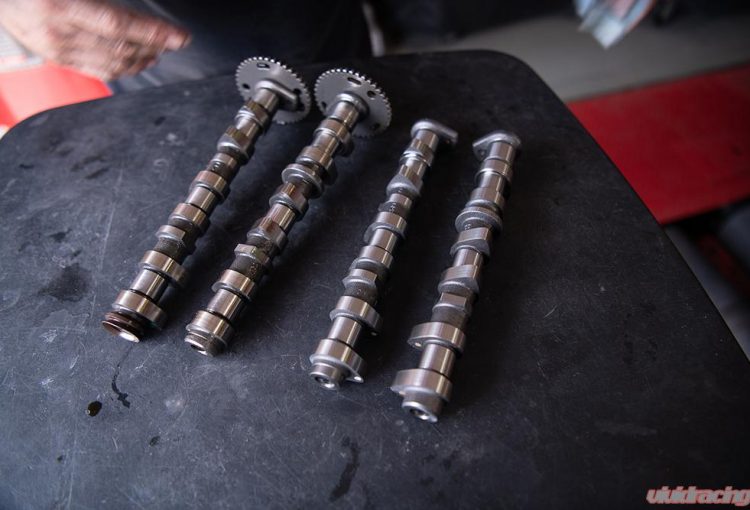
Agency Power Upgraded Camshafts Installation for the Can-Am X3
We hope you have found this link as a new purchaser of our Camshafts for your Can-Am Maverick X3 Turbo. These are a direct drop in and will take you about 6 hours to do the install with the proper tools. These installation steps are showing you what was done to swap… Read More
How to Install the Agency Power Mercedes CLA 250 Intercooler
This guide is to help with the installation of the Agency Power Intercooler Upgrade for the Mercedes CLA250. Begin by taking out all the bolts and clips that connect the under tray to the front bumper. Unclip the wheel well lower bumper clip and 2 x 10mm bolts behind the wheelwell to allow… Read More
Can-Am Maverick X3 Turbo Upgraded Intercooler Installation
This guide is to help with the installation of the Agency Power Upgraded Intercooler for the Can-am Maverick X3 Turbo | DS | RS & RC Estimated Install time: 30-45 min Step 1: Remove the intake and intercooler plastic covers from the rear of the X3. Step 2: Remove the two 2x… Read More
Can-Am X3 Modular Gauge Pod Installation
This guide to help with the installation of the Agency Power Can-am X3 Modular Gauge Pod Step 1: Remove the 4x torx screws from the dash bezel Step 2: Pull the gauge slightly out from the housing and disconnect the electrical harness from the back of the gauge. Step 3: Remove… Read More
Can-Am X3 Turbo Intake Instructions
This guide is to help with the installation of the Agency Power Can-Am Maverick X3 Turbo Intake. STEP 1 – Remove the plastic intake cover, intercooler vent, and engine access cover. STEP 2 – disconnect the breather hose from factory air box. STEP 3 – Loosen the hose clamps on the intake… Read More


